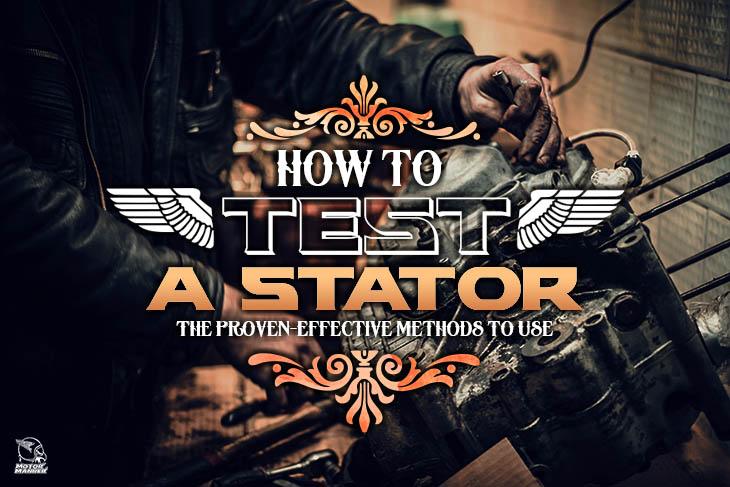
Stator refers to the stationary part of the alternator of the motorcycle that can be very complicated most especially for beginners to understand. Because of this, it is very important to have a closer look right at the basic electrical system mainly used on motorcycles. It is one of the most momentous parts of any vehicle to produce and at the same time store electricity that will be utilized later on for performing it.
However, do you have the knowledge and skills on how to test a stator? If not, there is nothing to worry because this article will show you the different methods on how to check a stator.
With the use of a high-quality multimeter, you can check the motorcycle stators even when they are installed on the bike. The tests are very necessary, as these will help you in terms of identifying or even eliminating the vehicle’s stator as the major problem in the charging issue.
Keep in mind that you cannot test the regulator-rectifier, so the first thing that you should do is to do away with the other possibility. This is why having the knowledge on how to test a stator is needed when it comes to determining if you have a bad regulator.
How To Downshift On A Motorcycle Smartly And Match Revs To Road Speeds For Smooth Rides
How To Wash Your Harley: The Right Way To Help You
Here Are Some Of The Best Methods You Can Use To Test Your Stator Properly
VOLTAGE CHECKS
Few simple checks are needed in order to remove the causes of the low charging system output. With the use of multimeter that is mainly set to DC voltage, check the voltage of the battery all across the posts. Take note that if you do not have about 12.5 volts, there is a need to install a battery charger.

After that, charge the battery. When it is done, check the posts as well as cable terminals for corrosion. With the use of terminal or wire brush, clean them if needed. Read this to know how stator testing works.
As much as possible, check the cable’s condition and look for insulation breakdown. After that, check the condition of the battery negative down to the chassis connection and the stator to the regulator connection. The contact points should always be free from corrosion.
STATISTIC STATOR TESTS
Many are still wondering what the steps are on how to test a stator. Well, here is how.
Step 1. Disconnect the regulator from the stator with its ignition switched off.
Step 2. On the lowest scale, set the multimeter to either resistance or Ohms. After that, insert one probe into a stator pin socket.
Step 3. Touch its other probe into the chassis ground. Take note that when the display reads other than ‘OPEN’ or in some instances the infinity’s symbol, and show continuity, you certainly have a grounded stator. The best thing to do is to replace it.
Step 4. Insert each of the probes into the stator socket. It should be 0.2 to 0.5 Ohms. Take note that if there is an open circuit with ‘OPEN’ or even infinity reading or in some cases have much higher resistance, it is a sign that the stator is not in good condition and you should replace it as quickly as possible. Read here to know other tips on how to test a stator.

If the tests produce positive results, it is an indication that the stator is in its good condition.
DYNAMIC OUTPUT TESTS
The dynamic tests let you check the rotor, which in the first place has the spins and magnets around the stator. The problems with the rotor will surely cause the loss of output.

Here are the steps to follow:
Step 1. The first step is to connect the probes into stator sockets with the engine running while the multimeter is set to check the AC voltage.
Step 2. After that, rev its engine for up to 3,000 and then read the meter. Take note that if it is much lower than 60 volts, there is a need to replace its rotor.
Step 3. The next step is to connect the stator to the regulator.
Step 4. There is a need to set the multimeter in order to check the amps on the lowest scale.
Step 5. Start the engine and then turn on all its electrical accessories.
Step 6. Disconnect its battery negative cable. Install the meter probes in series right between the battery negative post as well as negative cable terminal. When you read below 4 amps and the previous checks are good, that is a sign that you should replace the regulator-rectifier.
VISUAL CHECKS
You can immediately perform visual inspection once you have your stator exposed. Know if there are broken wires, insulation breakdowns or even thermal damage on the coil. It is very significant to inspect the ends of the outboards of the coil for the evidence of contact with its rotor.

If needed, replace the stator and pay a closer look at the stator to see if there are bits of the magnet. In addition to that, there is also a need to check the rotor to determine if there are broken magnets. Since magnets cannot be replaced individually, it is always crucial to replace the rotor as a unit most especially if it is damaged.
If you have issues with charging, it is indeed important to have a basic understanding on how to test a stator. This is very essential since the job of the stator is to provide extra power, which in the first place is needed in order to charge the battery, especially during the operation. If your stator does not have enough power, chances are the battery will start to drain.
Other Pro Tips On How To Test A Stator

If you do not have any idea on how to test a stator, you must keep in mind that you should start through checking on the continuity from the connector’s terminal tabs. After that, see if anything goes into the ground. To check this, you must set the multimeter to Ohms. You should utilize one of the multimeter leads in order to check the tab’s resistance through checking from A to B, B to C, and A to C.
You do not have to be an expert to know the best methods on how to test a stator. With the above-mentioned procedures and tips, you can now do the test on your own with ease and convenience. If you are still doubtful, you can watch this for you to be guided all throughout the procedure. This way, you can guarantee that you can perform the test without having too much difficulty.
The stator is an essential part of any vehicle. This is perhaps the main reason why it is always necessary to have a thorough understanding of the different methods on how to test a stator. This way, you can always be sure that your vehicle is in its top condition.
Good thing is that there are wide varieties of designs for motorcycle stator you can find in the market. However, the majority of them mainly observe the same basic principle. With this, it is important to choose the one that matches the needs of your vehicle.
Let us know what you think in the comments below!
