
Haven’t you had that moment when you find a great bike, one you’d ride into the wind on long and curving roads just for the sheer joy of it? Only to realize that you’ll be riding it higher than you’d like?
Read Also:
How Many Volts is A Motorcycle Battery Charged With?
5 Motorcycle Safety Items Every Rider Should Have!
If the stock seat is taller than your inseam by some inches, one of your feet will be off the ground during stops. Wouldn’t you want to finds ways to lower it for more comfort and confidence? This is how I’m going about it, because there’s no need to give up when things have to be dropped only an inch or so.

Learning how to lower a motorcycle you’re considering is what this guide is for. I’ll give you some alternatives to consider, including steps to modify the suspension smartly, so you can find ways to the ride you’ve been dreaming of.
Things You’ll Need to Know
You’ll have to get to know your dealer or a suspension specialist for the more intrusive methods. If you’ll thinking of doing the easier ones like fixing the seating or suspension linkages, you’ll have to be handy with a few shop tools like socket wrenches and saws, and learn about specialized parts like this lowering link:

Methods of Lowering Your Bike
1. Ready your stance
The quickest and least expensive way is for you to adapt your expectations to your level of comfort. It’s common for short-legged riders to get used to putting one foot down during stops. But most do like the convenience of having both feet flat on the pavement when needed.

Standing tall while short
Photo Credit: https://cdn.rideapart.com/
Adapting to your motorcycle’s sizing would depend on whether it can be made to lean to one side or the other while you keep it balanced. For some riders the posture works fine, and with some practice on their part this may be enough. But for others it may not work comfortably, and for them there are other options which can be a bit harder to gain.
2. Check suspension sag
The average new bike is set up at the dealer for a 170- to 180-pound rider. Assuming you chose a model that was correctly assembled before delivery, you could also check if the suspension can be properly serviced and preloaded with the correct spring and sag for your weight. If it’s set up for riders who are weightier on average than you, the springs won’t compress properly under the light load you’ll bear on it. It will hold both frame and you higher up, making it harder for both your feet to reach the ground.

Sag and spring rate reference table
Photo Credit: https://www.dirt-bike-secrets.com/
You should first check how the suspension’s members are sagging before swapping out major parts or having lasting modifications done. This may help you if your legs are nearly long enough and only need an inch or so of adjustment to make up for it. The checklists the bike will go through will also enhance its general performance. The experts at Touratech have put up a great guide for checking sag in suspensions.
3. Lower the seat
You can try modifying the seat to depress your seating position just a little. It’s a quick option, and in doing this you can also get the seat steadied into a more comfortable position which better supports your backside. Owners who swap seating usually want to add ease as well as storage, and it’s simple enough to do anyway. Just remember that overdoing this by more than a centimeter will impact the seat-to-handlebar geometry, which in turn will lower traction when you run corners. Here are some video guides on how to modify seats:
One nice thing about this approach is that you can slim down the forward part around the nose, which will let you stand slightly forward with your legs closer to the sides and thus your feet nearer to the ground. Or you can swap in something with a broader rear that will give your butt more support and cushioning as well. This involves less critical changes than the alternatives and can really impact your comfort on the road, so you should try this before anything else.
4. Lower the suspension
Your final resort if the easier tricks fail is to physically lower your bike’s suspension. But these procedures can be hard to do correctly and you may have to rely on experts.
- Modifying the suspension will result in changes to the degree of lean angle that’s possible.
- These changes will alter handling and affect ground clearances for road bumps and holes, and lower parts will tend to strike stuff on the ground earlier.
- Handling may also become more unpredictable if these modifications are done incorrectly.

Bow pegs streaking the pavement may seem cool, but it's not much fun when you’re constantly scraping bumps and other rough stuff. And there’s also more chance of you dragging your undersides too much and going down with these changes done wrong. Smart tip: visit your local shop and have the suspension expert show you the details.
So, how to start with lower a motorcycle? We start with the easiest option, which is to modify the suspension’s links.
Lowering Link
Most models feature ascending-rate rear linkages with parts known as lowering (dog-bone) links. These can be swapped with custom versions in order to lower the suspension. You can order online parts like this lowering link for some Kawasaki models.
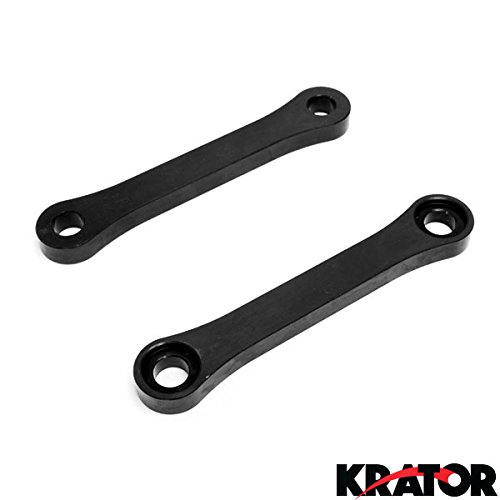
Via Amazon
- Every bike differs in the type of link installed, although with most a lengthier type will suffice to depress the suspension.
- You must be careful in your choice though, as length differences here will magnify effects.
- A small change can really affect your bike’s height, which will also affect spring rates.
- An added centimeter of length can heighten spring compression rates by 20% and result in rougher rides.
- The rate of changes varies with rate of rises in linkages, and each case of an owner and his bike will involve a particular level of modification for a particular result.
If you’re learning to do this yourself, it’ll be easier with a motorcycle lift like this model which can raise over 1100 lbs.
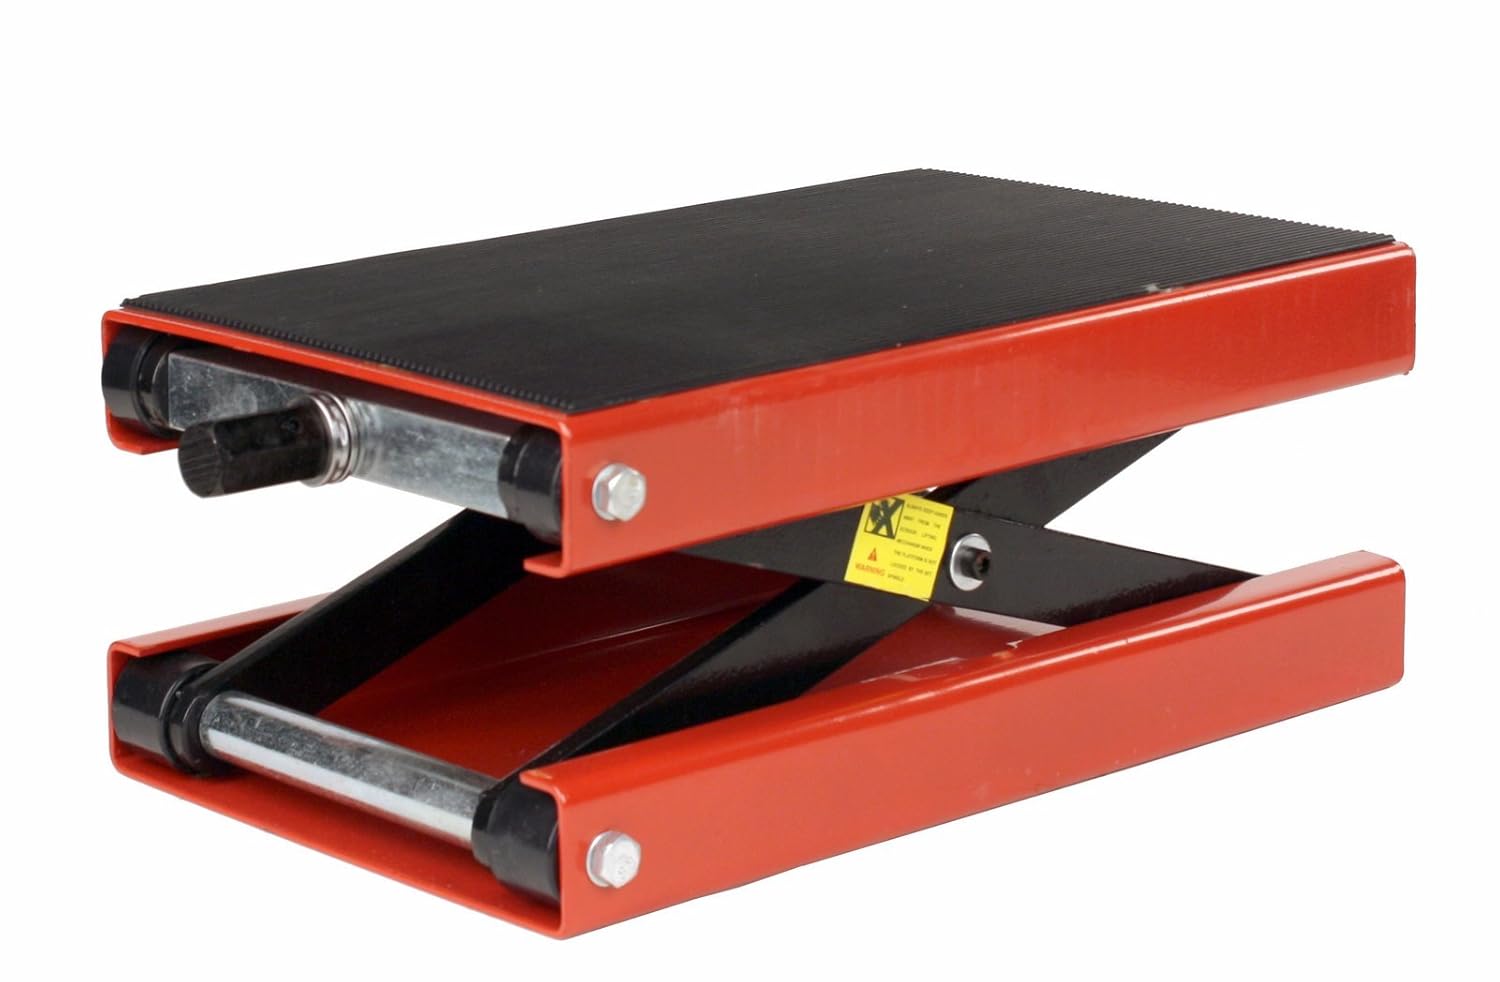
Via Amazon
Rear Shock
The second and more involved suspension option is to have the rear shock expertly shortened. The job can cost up to $200 when done by professionals, which is more costly than modifying the linkage alone. But this approach does has the advantage of maintaining the factory’s default spring rates as well as the default rates to the linkage.
With this method you can make sure your bike retains its riding feel and normal operation as designed. Specialists use various techniques to modify the internals such as adding specialized spacers in the forks and shocks as well as swapping or modifying spring assemblies.

Lowering spacers
Front Fork
If you’ve already lowered your motorcycle’s rear then you must modify the front end’s height likewise. This last option is critical to safe riding because if you fail to drop the front forks to match, the bike’s general balance will be badly affected, as the front-end geometry will have changed in ways which slow down steering inputs.

Credit: https://www.advpulse.com/
Front-end Modification
There are bikers who don’t think that lowering the front-end forks is a good idea, while others believe the opposite. Both groups can be vocal about why one approach is wrong and dangerous while another isn’t. But they all agree that there’s a tiny level of modification of around 3 millimeters by which most forks can be shortened without resulting in fenders running into the triple clamps.
These modifications can be risky to do by yourself, especially if you fail to account fully for the compression in the suspension you’ll undergo while braking, which can literally throw you off. The best way to do all these is to have a specialist shop shorten each fork and shock in a proportion that corresponds to that particular configuration. Here’s an informative video guide on how experts work to lower the front-end of a 2003 Honda CBR 600rr:
Doing it Right

That last big option of shortening your bike’s shocks and forks is something best done by an expert who profiles suspensions with calculations of their progressions. He’ll precisely figure how much each shock can be internally shortened, which is generally a third of that by which the front forks can be shortened as well. You have to be knowledgeable in these considerations or else get a professional to do the job right.
That’s why if you’re going to drop both ends, you should study how to lower a motorcycle as I did, to ensure the best results for our own bikes. Try asking around on forums for advice related to your model. You’ll find it interesting to learn from other owners who’ve already successfully lowered a model like yours, so long as your ride isn’t a rare or custom version or a custom.
Have you learned how to lower a motorcycle? How did you go about it? Feel free to share what you know.
